


What is Anki?
Anki will help you memorize a lot of things, very efficiently. Think of it as memorisation on steroids.
Anki tests you on various pieces of knowledge, in our case vocabulary, grammar etc.
These things are tested in short bursts on a regular basis so that you retain everything you learn. Useful, right?
In this article we will get Anki installed on your computer, run you through your first study session and get you adding your own vocabulary.
Let’s begin!
How to Install Anki
1. Go to the Anki Website
Visit https://apps.ankiweb.net in order to find the latest version of Anki.


2. Download Anki
Click the big download button to be taken to the download link. This is free for Windows, Mac and Linux. The download is around 100MB and should be done fairly quickly.

3. Install Anki


Once the download is complete you are now ready to install Anki. Just follow the instructions in the installer.
4. Open Anki
The very first time you open Anki you will be asked to choose an interface language. For more immersion I suggest using English, however feel free to choose your native language if you aren’t ready for that.


When you open it for the first time you can either “Import File” (to study a deck someone has already made) or create your own. For now we will “Create Deck“.


5. Name Your Deck
Next we need to choose the name of the deck. For our example we will call it “English” but you could be more specific by naming it “Vocabulary” or “Grammar” etc depending on what you use it for.

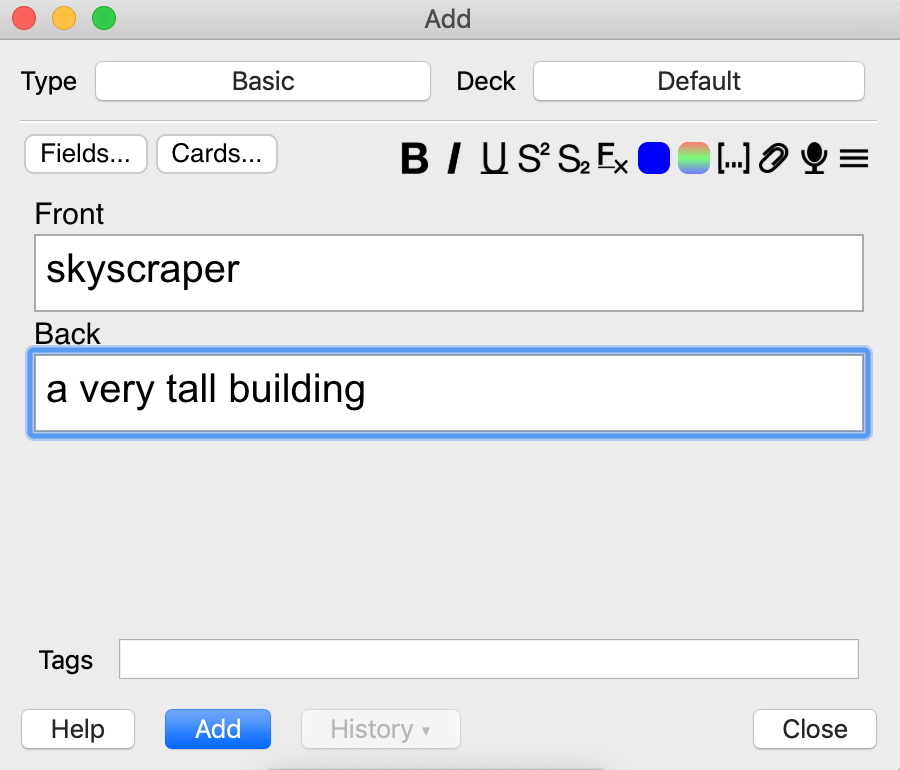
6. Add Cards
Press “Add” (at the top) and we can create our first card. Fill in the “front” and the “back“. After these sections are filled in, press “Add” (next to help).


7. Add More Cards
Repeat this step and fill in the information for another two cards. We should now have three cards altogether. Once this is done hit “close“.


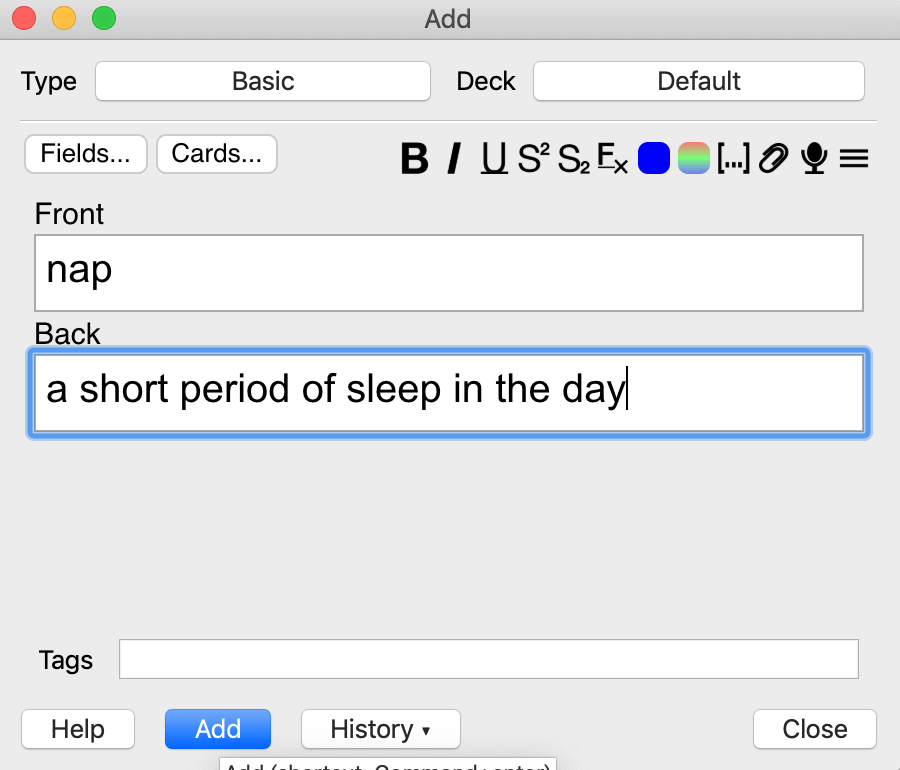
Notice how my descriptions of these words are in English. Again, if you want to be more immersive in the language than use English definitions. However, some words may be easier to just use your native language.
8. Study Time!
You will now be given the option to “Study Now” after clicking inside the “English” deck. When you click on this, the study session begins.


Each card will come up and you will have to prove that you know the definition. You don’t need to know the definition word for word but you do need to know what it is.
Once you have your answer (either in your head or said out loud) then click “show answer“

You will then see the answer as well as three options at the bottom.
If you didn’t get it right then hit “Again“. You will then be tested twice more on this card before it is complete for the day.
If you got it right then hit “Good“. This will show you it once more before it is complete for the day.
If you got it right and it was too easy then hit “Easy“. This card won’t be shown for another 4 days.

If you hit “Good” then the next time you come across this card in the session you will see that the times have changed.
Now if we get it right then it will delay the card for 1 day. If we get it wrong though the card will reset and we will have to get it right twice more.

Once you have managed those 3 cards, congratulations! Your study session is finished for the day. Come back tomorrow to be tested again and drill those words into your long term memory.
Be aware! Although you will complete this deck very quickly today (it has only 3 cards), it will take longer the more cards you add. Expect a 100 card deck to take around 30 minutes a day
What’s Next?
Once you have finished your deck then that’s it for today. When you use your computer again tomorrow then the deck will refresh and you will be reminded to study again.
You can keep adding new cards for anything new you want to learn. Be careful though, adding too many cards at once can make it very difficult to learn everything before the next day. Also, the more cards you add, the longer it will take to complete your study session each day.
Pre-Made Decks
A lot of people at this point will usually say something like this:-
“This sounds like a great idea but making a deck sounds like a lot of time and effort. Can’t I just download a deck and study that?”
The answer to this is YES! There are plenty of decks out there to get started with and we will look at how to do that now.
- Go to the Anki Shared decks website here.
- Search for the deck that you want and download it. (It will be saved as an .apkg file.)
- Load up Anki and hit “Import File“. Point it to where the file is and hit “Open“.
- You are now ready to “Study Now“.
- The deck will slowly add new cards from the deck each day at the default rate (20). You can change this if you want to study more or less cards each day.
Conclusion
This will get you started using Anki. However, there is so much more that can be done, including:-
- Customizing the look of each card
- Customizing numbers such as (Intervals, limits etc)
- Installing plugins to enhance Anki further
- Adding media (pictures, audio etc)
Make sure to read the manual because there is so much to be done inside Anki beyond the basics. Also make sure to hunt around on youtube for other guides and tips.
The last thing for you to do is try Anki for yourself. Some people (myself included) swear by SRS programs and the value of such a program is immense. Other people prefer other ways of studying to retain information. Try it for yourself and see if it works for you!